Have you been considering 'How Long Does It Take To Fully Renovate A Room?' Discover how long it typically takes to fully renovate a room. Learn about factors that impact renovation timelines, from room type and project complexity to materials and contractor availability.
Removing Old Wallpaper (2-7 Days)
Removing old wallpaper is often the first and critical step in a renovation project. The time required to remove old wallpaper can vary widely, ranging from 2 to 7 days. This depends on several factors, such as the size of the room, the type of wallpaper, and the condition of the walls underneath.
Older wallpaper can be particularly stubborn and may demand more effort to strip, especially if there are multiple layers that have been applied over the years. To effectively remove the wallpaper, you will need to use either a wallpaper steamer or a wallpaper removal solution. It is essential to ensure the walls are thoroughly cleaned and that any remaining adhesive is removed before proceeding to the next step.
Patience is key in this process, as rushing can result in damage to the walls. This could lead to additional repair work, which would further delay your project. Properly prepping the walls is crucial to achieving a smooth finish in the later stages of your renovation.
After removing the wallpaper, make sure to inspect the walls for any cracks, holes, or other imperfections that might need to be addressed before you can move on. Taking the time to do this job thoroughly will pay off in the end, ensuring that the subsequent stages of your renovation go smoothly and yield high-quality results. Always remember that careful preparation is the foundation of any successful renovation project.
Sanding Down Skirting Boards and Door Frames (1-2 Days)
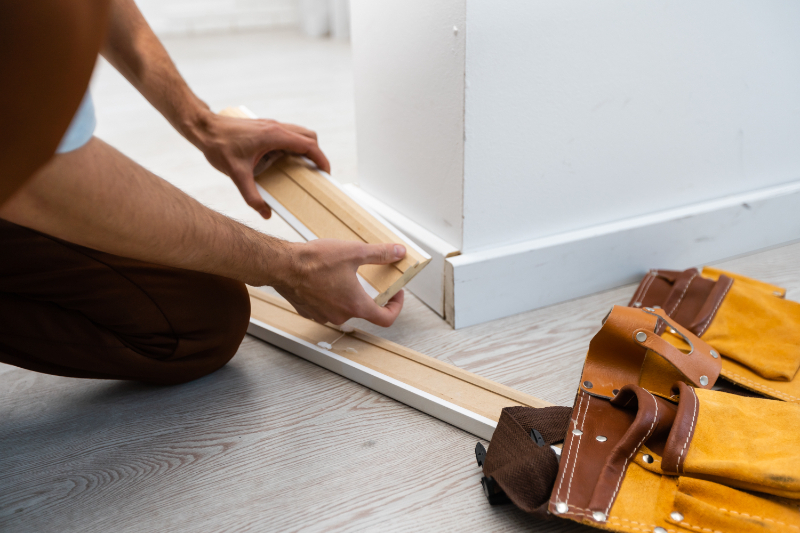
Sanding down skirting boards and door frames is an important step that requires 1 to 2 days to complete. This part of the renovation helps prepare the surfaces for new paint or finish, ensuring a polished end result.
Before you start sanding, cover the floor and any remaining furniture with protective sheets to prevent dust from spreading.
Using a sanding block or an electric sander, gently sand the skirting boards and door frames until they are smooth. For intricate detailing or narrow spaces, hand sanding may be necessary.
Remember to spend some time cleaning up the dust that accumulates during sanding. Vacuum the surfaces and wipe them down with a damp cloth to remove any remaining particles. Proper cleaning ensures that the paint or finish adheres well to the surfaces, resulting in a long-lasting effect.

If the skirting boards or door frames have any damage or chipping, it is important to repair these areas prior to sanding. Fill any cracks or holes with wood filler, then sand the filled areas to ensure a smooth and even surface.
Filling and Sanding Walls and Ceiling (3-4 Days)
Once the old wallpaper is removed and the skirting boards are sanded, it's time to fill and sand the walls and ceiling. This process can take about 3 to 4 days, depending on the condition of the surfaces.
First, inspect the walls and ceiling for any holes, cracks, or uneven areas. Use a high-quality filler to patch up these imperfections. Allow the filler to dry completely, which can take several hours to a full day, depending on the product used and the depth of the repairs.
After the filler has dried, sand the walls and ceiling to create a smooth base for painting. Use fine-grit sandpaper to avoid scratching the surfaces. Pay extra attention to areas around patched spots to ensure they blend seamlessly with the surrounding wall.
It's crucial to clean the surfaces thoroughly after sanding. Use a damp cloth or sponge to remove any dust and debris, as this can affect the adhesion of paint or wallpaper in the next stages.
Once the old wallpaper is removed and the skirting boards are sanded, it's time to fill and sand the walls and ceiling. This process can take about 3 to 4 days, depending on the condition of the surfaces. First, inspect the walls and ceiling for any holes, cracks, or uneven areas.
Use a high-quality filler to patch up these imperfections. Allow the filler to dry completely, which can take several hours to a full day, depending on the product used and the depth of the repairs.
After the filler has dried, sand the walls and ceiling to create a smooth base for painting. Use fine-grit sandpaper to avoid scratching the surfaces.
Pay extra attention to areas around patched spots to ensure they blend seamlessly with the surrounding wall. It's crucial to clean the surfaces thoroughly after sanding. Use a damp cloth or sponge to remove any dust and debris, as this can affect the adhesion of paint or wallpaper in the next stages.
Painting (2-3 Days)
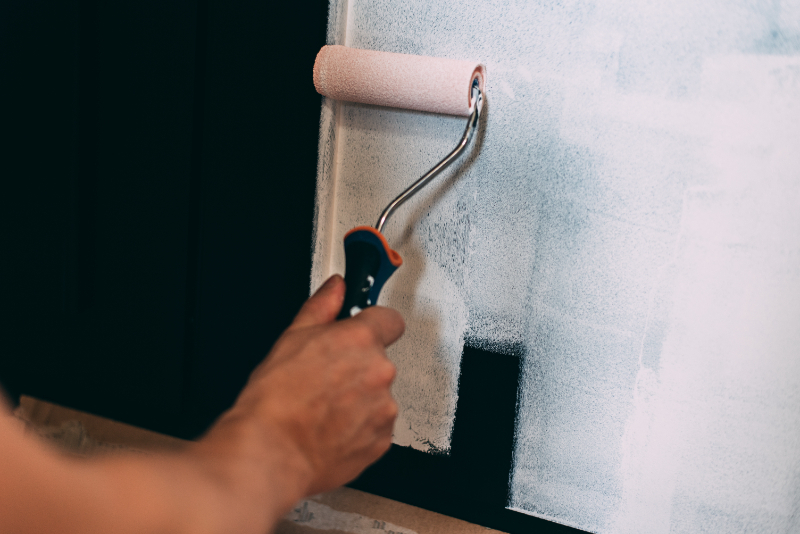
Painting is a rewarding stage that brings your renovation project closer to completion. Depending on the size of the room and the number of coats required, painting can take 2 to 3 days to finish. Start by applying a primer if needed. Primer helps to achieve an even colour and enhances paint adhesion, especially on newly sanded or filled surfaces.
It is crucial to allow the primer to dry completely before applying the topcoat, as this ensures a smooth and long-lasting finish. When painting, use a roller for large surfaces and a brush for edges and corners.
Apply the paint in even strokes, ensuring complete coverage. Most rooms will require at least two coats of paint to achieve a rich and uniform colour. Each coat builds up the depth of colour and improves the overall appearance of the room.
Between coats, allow the paint to dry as per the manufacturer's instructions. This waiting period is essential, as rushing through coats can result in a patchy and uneven finish. The drying time can vary depending on the type of paint used, so always check the product guidelines. After the final coat is applied and has dried, inspect the walls for any touch-ups needed.

Look for areas where the paint may be thinner or where streaks and marks are visible. Addressing these issues promptly will ensure a professional and satisfying result. Painting can transform a space, making it feel fresh and new, so take the time to do it right.
Installing New Flooring (1-2 Days)
The final step in a flooring project is installing new flooring, which typically takes 1 to 2 days to complete. The duration can vary depending on the type of flooring you choose, whether it be carpet, laminate or hardwood. Each type of flooring has its own installation process and timeline. Before installing the new flooring, it is crucial to ensure that the subfloor is clean, level, and properly prepared.
This preparation helps to create a smooth surface for the new flooring to adhere to, preventing any future issues.In some cases, especially with hardwood or laminate flooring, an underlayment might be required. This underlayment serves as added insulation and moisture protection, which can be particularly beneficial in rooms like basements or bathrooms.
Installation generally begins in one corner of the room and progresses across the space. It is important to follow the manufacturer's guidelines for both spacing and fitting the pieces together. This ensures that the flooring is installed correctly and will last a long time. For instance, you may need to leave a small gap between the flooring and the wall to allow for natural expansion and contraction of the material.
Using a rubber mallet, gently tap each piece into place to ensure there are no gaps between them. This helps achieve a snug fit and a smooth, even surface. Take your time with this step to make sure each piece is aligned correctly. Once the flooring is fully installed, the next step is to add the finishing touches. This includes installing trim and mouldings around the edges of the room.
These finishing touches not only enhance the aesthetic appeal of the room but also help to secure the edges of the flooring, preventing any potential lifting or shifting over time.In summary, installing new flooring is a multi-step process that generally takes 1 to 2 days. Proper preparation of the subfloor, following the manufacturer's installation guidelines, and adding finishing touches are all crucial steps in achieving a professional and polished final result.
Are you planning a house renovation in Coventry, Nuneaton, West Midlands? If you are planning a renovation, you will want to discover if it is viable to do so. Ask our local expert today for a quotation.
If you require more information about planning applications before you start work, don't hesitate to contact our team today.


